Home recording tips - advice on recording vocals in a home studio
Jamie Hamilton from The Unsigned Guide gives us some essential tips for recording vocals at home...


There are plenty of pitfalls when recording vocals at home but a lot of the most common problems can be avoided if you're aware of the basics.
So, before you lay down your next demo, take some time to familiarise yourself with our top tips.
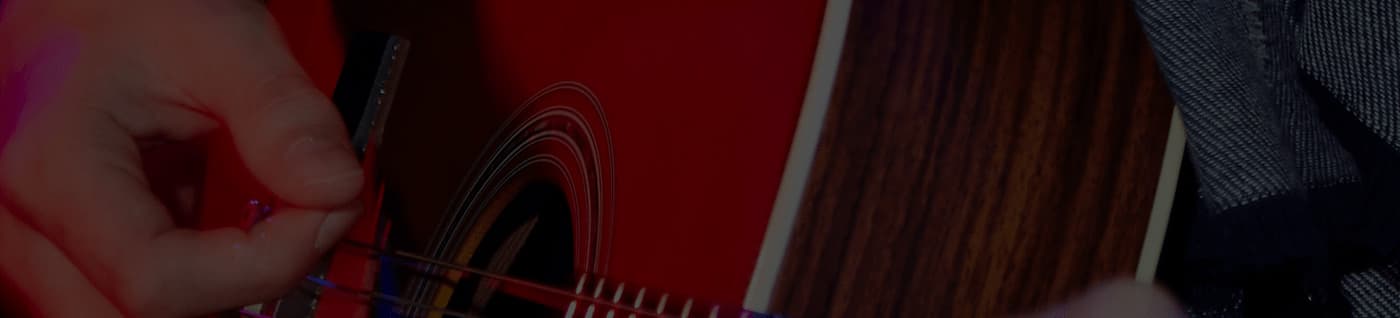
What type of microphone?
The most commonly used microphones for recording vocals are large diaphragm condensers, and this is probably the safest bet to get a full, versatile vocal recording. The Rode NT1 and Audio Technica AT2020 are two of the most popular. There are LOADS of budget condenser microphones out there, so do a bit of research before spending any money.
As with all things in the world of recording, the 'best' microphone to use is a matter of taste. Small diaphragm condensers, and even dynamic mics such as he ever trusty Shure SM58, are equally usable with the right voice.
If you have access to (or the budget to afford) a few different types of microphone, you will have room for a bit of experimentation - which is often the best way to find the sound that you are looking for."
ICMP students have access to a huge range of microphones from our well-stocked facilites. Find out more.
Mic positioning/pesky reflections
Once you have chosen the perfect microphone and have it set up and looking all pretty, the next question is usually, where do I place it?
Well, you will get bored of me saying this by the end of the blog, but ... experiment. Ten minutes of trying different positions could save you a lot of time and grief later down the line. Try talking, singing, shouting and clapping into the microphone and listen to how the room sounds.
Without going the full hog and having your room acoustically treated by a professional, there are always going to be some sounds reflecting off hard (and even soft) surfaces into your recordings. This isn't always a problem but, especially when your vocals are mixed with virtual instruments or professionally recorded samples, it can become an issue. It is possible to counter this with mindful placements of duvets and blankets.
Just remember not to forget that sounds reflect from all directions. Rugs on hardwood floors will help. Ceilings can be trickier... #experiment"
Also, it might seem like an obvious one but make sure that there is no noise emanating from plugs, pets, TVs, phones or open doors/windows before hitting record. I say this out of personal experience. It still pains me to this day that in the quiet bits of a song that I released, you can hear the fridge in my flat happily humming along in the background.
Stop the pops
Another really important element of vocal recordings often overlooked by beginners is the setting up of a pop shield. A pop shield pretty much does what the name suggests. Usually made of nylon or metal mesh, it is designed to shield the microphone from any harsh plosives (primarily "P" and "T" sounds) from a vocal performance.
You can get a perfectly decent pop shield for under £20. If you're short on change or need a short-term fix, you can always take the DIY route and fashion your own. A thin sock or a pair of tights wrapped around a wire hanger works well (my first pop shield was an embroidery hoop covered by a pair of my mum's tights).
Levels, levels, levels
I'm not going to go into the mixing side of things here (I might get carried away and you probably have stuff to do), but just a quick word on input levels. However you record your vocals, you will want to make sure that you are using a pre-amp to boost the signal to a decent level.
If you're using an audio interface to record into a Mac or PC, the interface will most likely have an in-built pre-amp and that should do the job nicely.
Just make sure that you're not going too hot when you're cranking in the input volume. You shouldn't really be peaking any higher than -6dB on the meters."
Sample the loudest parts of the performance before recording the whole works so that the perfect take isn't hampered by clipping distortion.
The performance
So, your carefully selected microphone is perfectly positioned, your input level is rocking and you're ready for the big bit. Final pointers?
As a rule of thumb, positioning the vocalist about 30cm from the mic (with the pop shield halfway between) is a good starting point. It is best practice to record several takes of the vocal parts. This allows you to chop up the best bits and jigsaw them together into a gleaming end product. It also leaves room for double tracking and other nifty production tricks later on.
You'll be thrilled to know that there is still plenty of room for experimenting at this point (YAY!). Depending on the type of vocal and how you want it to sound, moving closer/further away from the microphone, singing over (rather than directly into) the mic's diaphragm and even moving the pop shield can give a performance dramatically different qualities. Moving closer to the mic will provide a warmer sound but can also leave you prone to plosives and sibilance, so proceed with caution.
Visit theunsignedguide.com for more information.
This blog was originally posted on The Unsigned Guide. Read the full piece here.
Study music in London with ICMP
If you're interested in developing your musicianship, learning from our regular industry guests and collaborating within the vibrant ICMP creative community, then speak to our Admissions Team. They're on hand to help you find the right course that matches your ability and aspirations.
Contact the team on 020 7328 0222 or via email enquiries@icmp.ac.uk and start your music career today.